
Self Help Documentation
Editing/Changing Time Punches in POS
If Clock Ins\Clock Outs need to be changed this can be done by selecting the User Menu at the top right and
selecting Manager → Time Punch Management. On this screen you have various options available: There are 3 filtering options:
- ● Date Range: In the bottom middle you can select a span of dates to view time punches from(Start Date on left | Stop Date on Right). Tap on a Date to change it.
- ● Staff Filter: You can tap the Staff button and select a Staff Member to filter by.
- ● Job Filter: You can tap the Job Type button to select a Job to filter by.

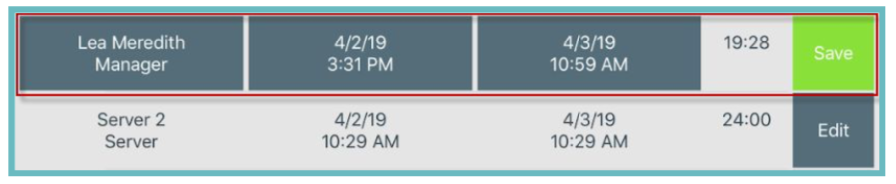
- You can Edit a time punch. To do so:
- ● Select Edit next to the desired Time Punch.
- ● The Staff, Clock In, and Clock Out fields will now be opened for editing.
- ● You can change the Staff member who was assigned to the shift, the clock in, and clock out times by tapping on the desired field.
- ● When done select the Save button to the right.
● Place your finger on the desired Time punch and swipe left.
● You will see a Delete button display to the right. Select it.
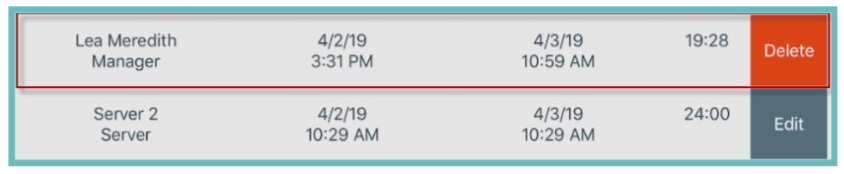
● A confirmation message will appear. Press Delete to confirm the deletion.